Core Data for Beginners: A Step-by-Step Guide
19 min read This tutorial will walk you through using Core Data, Apple's framework for managing data in iOS applications. By the end, you'll understand how to set up Core Data, create a simple data model, and perform basic operations like Create, Read, Update, and Delete (CRUD). December 07, 2024 21:25
1. What is Core Data?
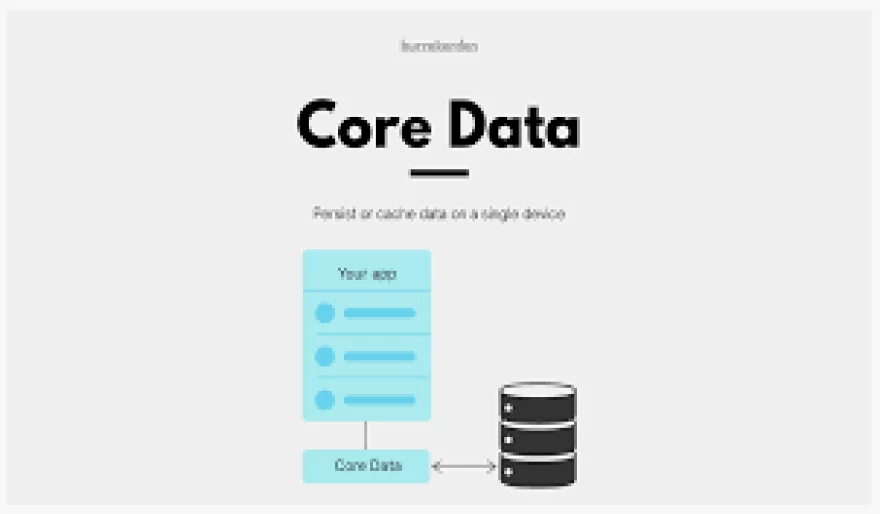
Core Data is a framework provided by Apple that allows you to persist (save) data locally. It is not a database like SQLite but can use SQLite as its backend. Core Data manages objects and relationships, making it easier to handle large amounts of data efficiently.
2. Setting Up Core Data in a SwiftUI Project
Create a New Project:
- Open Xcode.
- Select App and click "Next."
- Enter a name for your app, e.g., CoreDataDemo.
- Ensure "Use Core Data" is checked.
Explore the Project Structure:
When you enable Core Data, Xcode automatically sets up:CoreDataDemoApp.swift- The app's entry point.PersistenceController.swift- A file that sets up the Core Data stack.
3. Understanding the Core Data Stack
Core Data involves the following key components:
- Persistent Container: The heart of Core Data, which manages the database and the object context.
- Managed Object Context (MOC): An environment to create, read, update, and delete objects.
- Entity: The "table" structure of your data model.
- Attributes: Columns in a table (e.g., name, age).
- Fetch Requests: Queries to retrieve data from Core Data.
4. Create a Data Model
- Open the
.xcdatamodeldfile (e.g.,CoreDataDemo.xcdatamodeld). - Add a new Entity called
Item:- Add two Attributes:
name(Type: String)timestamp(Type: Date)
- Add two Attributes:
- Save the file.
5. Define the Core Data Code
Here’s how to add and retrieve data.
1. Add Items to Core Data
@Environment(\.managedObjectContext)gives access to the Core Data context.Itemis the Entity created in the data model.viewContext.save()persists the changes.
2. Fetch Items from Core Data
To retrieve data:
@FetchRequestretrieves allItemobjects sorted bytimestamp.ForEachdisplays the fetched items in aList.
3. Delete Items from Core Data
You can delete items using:
Here:
viewContext.delete(item)removes the item.- Saving the context finalizes the deletion.
6. Final Structure of ContentView
Here’s the full ContentView combining Add, Fetch, and Delete operations:
7. Run Your Project
- Build and run the app.
- Tap "Add Item" to insert data into Core Data.
- Swipe to delete rows or use the Edit button to remove items.
Key Concepts Recap
- Entities represent data models (tables).
- Attributes are properties (columns).
- Managed Object Context handles data operations.
- Use
@FetchRequestto fetch and display data in a SwiftUI view.
Next Steps
- Add filters to fetch specific items.
- Learn about relationships between entities.
- Implement data persistence between app launches.
User Comments (0)
No comments added yet.
Comments will not be approved to be posted if they are SPAM, abusive, off-topic, use profanity, contain a personal attack, or promote hate of any kind.
More »


Popular Apps

Candy Crush Saga Apk 5King

TikTok Apk 5TikTok Pte. Ltd.

Facebook Apk 5Meta

TikTok Lite - Smaller & Faster Apk 5TikTok Pte. Ltd.

XAPK Installer ApkTarrySoft

Instagram Apk 5Instagram

Facebook Lite Apk 5Meta

DeepSeek - AI Assistant Apk 5DeepSeek

Rakuten Viber Messenger Apk 5Viber Media

Via Browser - Fast & Light ApkTu Yafeng
 Games
Games Entertainment
 Communication
 E-mail
 Security
 Tools
Tools Media
Media Internet
 Finance
 Design, Image and Photography
 Education
 IT Tools
 Travel & Local
 Video Players & Editors
 Food & Drink
 Health & Fitness
 Lifestyle
 Medical
 Shopping
 Sports
 Weather
 News
News Android
 IOS
IOS Windows
 Mac
Mac Linux
Linux